Start manual mitigations
Note
Mitigations are possible for the entire network or for individual or multiple IP-addresses.
Note
You need administrator rights to start or stop manual mitigation.
Note
You can only start a manual mitigation if the SOC admin has enabled it for the network.
If you suspect that a company has been targeted by an attack, you can initiate manual mitigation at any time.
Proceed as follows to start a manual mitigation:
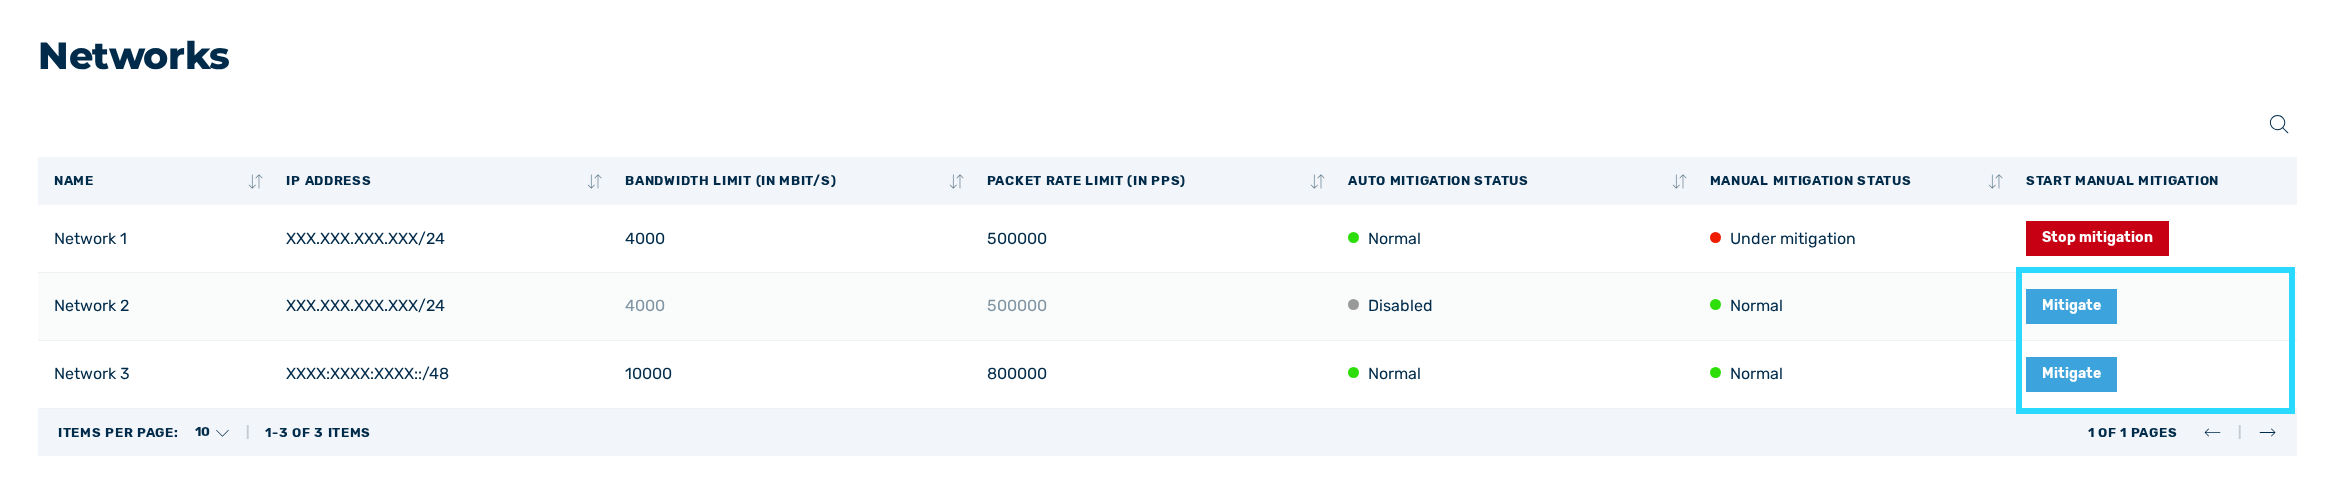
Buttons for initiating mitigation
- ► Click on the Mitigate button.
- ↳ The Mitigate network or IP address(es) dialog opens.
-
► Depending on the type of network, one of two different views is shown:
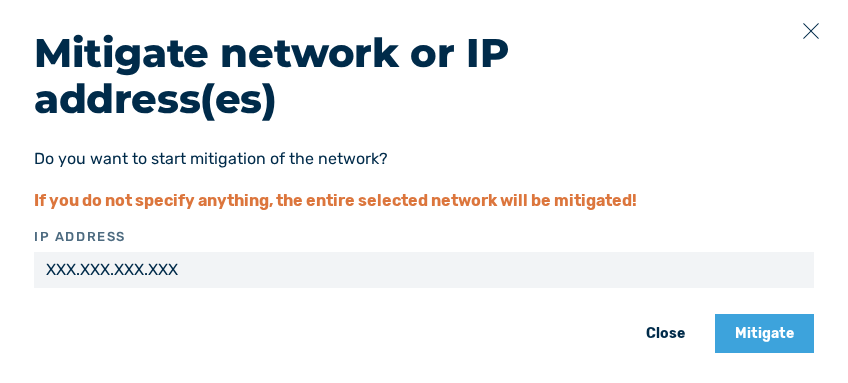
Mitigate network or IP address(es) dialog – variant 1
- For networks with IPv4 /32 and IPv6 /128, only the IP address of the network is displayed.
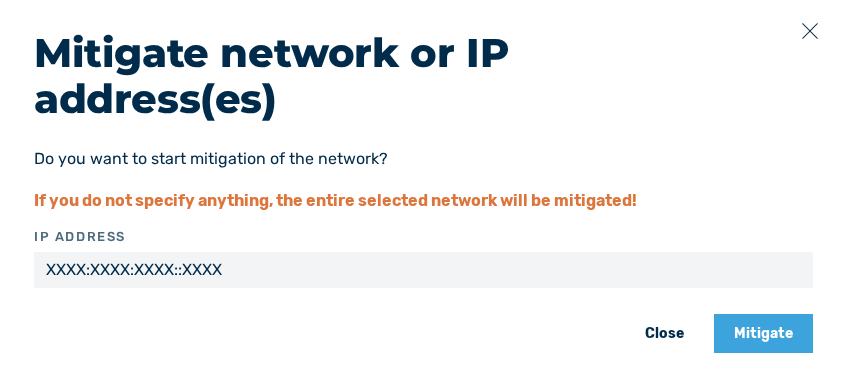
Mitigate network or IP address(es) dialog – variant 2
-
For all other networks, you can enter a specific IP address in the right-hand field to run the mitigation for that IP address only. Use the
 icon to add further specific IP addresses.
If you leave the field blank, mitigation will be initiated for the entire network.
Note
When you enter a specific IP address, the system automatically checks whether this IP address also belongs to the selected network.
-
► Click on the Mitigate button.
- ➔ A message confirms that mitigation has started successfully.
Next to the Networks view in the left navigation bar, the mitigation icon  is visible, and in the Manual mitigation status column, the status changes to one of the following values:
- Under mitigation: Manual mitigation has been initiated for the entire network.
- Partially mitigated: The manual mitigation was started for part of the network only.
Note
Once you have started mitigation for a specific IP address, you can repeat the process for other IP addresses at any time.
To do so, click on the Additional Mitigation button to open the dialog for the manual mitigation again.
Note
After a mitigation has been started successfully, the buttons in the START MANUAL MITIGATION column change:
- When a mitigation is started for an entire network: the Stop mitigation button appears instead of the Mitigate button.
- When a mitigation is started for a specific IP address: an additional (X) Stop mitigation(s) button appears next to the Mitigate button. The X in brackets indicates the number of IP addresses for which a mitigation has been initiated.
Note
In the case of manual mitigation, traffic is redirected via the scrubbing center, attacks are mitigated or blocked, and you receive a notification via email.
Note
The mitigation icon next to the Networks view in the left navigation bar remains visible for as long as the Myra DataHub is running mitigations. The mitigation icon only disappears once all running mitigations have been stopped.